Good lighting changes how a bathroom looks and feels. Whether you want to brighten bathroom spaces for safety or to make makeup and shaving easier, this bathroom lighting guide will show practical steps. From small renter-friendly fixes to full fixture swaps, the aim is better function and calm, stylish ambiance.
This opening section outlines the plan: assess current light, set clear goals for task, ambient, and accent lighting, and pick fixtures and bulbs with the right color temperature and CRI. You will also get bathroom lighting ideas and bathroom lighting tips that balance energy efficiency with design.
Improving lighting boosts safety in showers and near wet floors, improves color accuracy for makeup, and can visually expand small bathrooms. Read on for a concise, actionable bathroom lighting guide to help you improve bathroom lighting in a way that fits your style and budget.
Assessing Your Current Bathroom Lighting and Needs
Start by taking a calm, methodical look at your space. Walk through the bathroom at several times of day and note how light changes. Use photos and simple tools to assess bathroom lighting so you can plan precise improvements.
How to evaluate existing light levels and sources
Make an inventory of fixtures: ceiling lights, vanity sconces, recessed cans, and any shower-rated fittings. Check bulb types and wattages, and record the color temperature. Measure perceived brightness in the morning, midday, and night. A light meter app or a handheld lux meter gives objective readings. Aim for roughly 300–500 lux at the vanity and 100–200 lux for general ambient light in small bathrooms.
Identifying problem areas: shadows, glare, and dark corners
Look for common issues such as under-eye shadows from a single overhead source or dim corners left by recessed cans. Note glare from exposed bulbs or glossy tiles. Photograph trouble spots so you can compare before and after. This helps you identify lighting problems and prioritize fixes for safety and comfort.
Determining lighting goals: task, ambient, and accent lighting
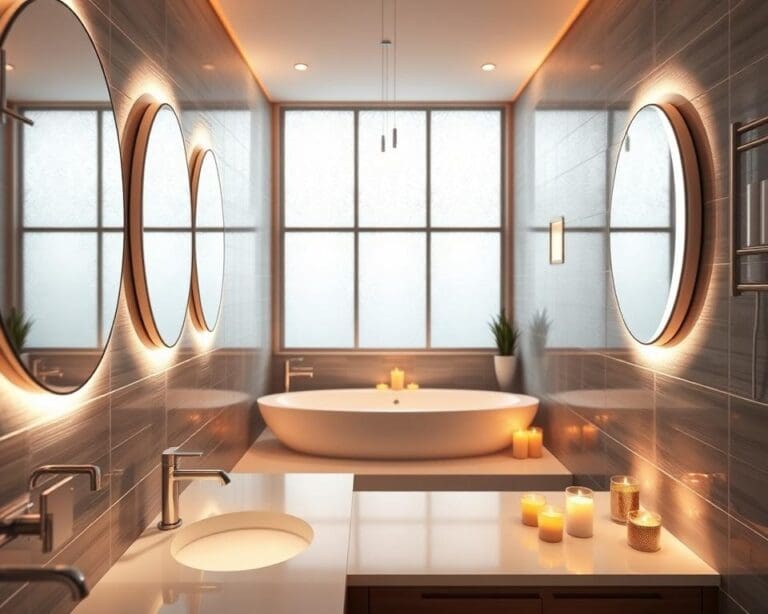
Decide what your bathroom must do. Define task, ambient, and accent lighting goals based on how you use the room. For grooming, choose vertical, shadow-free lights beside the mirror. For general use, plan even ambient illumination from ceiling fixtures. Reserve lower-intensity accent lighting for niches or textured tile to add depth and character.
Considering layout, mirror placement, and natural light opportunities
Map fixtures against the bathroom layout and mirror height to reduce shadows and boost reflected light. Look for ways to use natural light bathroom features like windows or skylights while protecting privacy. Mirrors and light-colored finishes help distribute daylight. For more lighting concepts and fixture ideas, review expert guidance at lighting concept guides.
After this assessment, you will have a clear list of what to upgrade. Prioritize changes that resolve the biggest issues and support your bathroom layout lighting and long-term goals.
Practical Upgrades to Improve Bathroom Lighting
Thoughtful bathroom lighting upgrades transform function into comfort. Start by mapping zones: vanity, shower, and general ceiling areas. Small changes in fixture type and placement yield big gains in appearance and safety.
Choosing the right fixtures for each zone: vanity, shower, and ceiling
For vanity lighting, use vertical fixtures or wall-mounted sconces on either side of the mirror at about 65–70 inches to cut down on facial shadows. Lighted mirrors and mirror-mounted LED strips offer even, flattering illumination for grooming.
Ceiling fixtures should create broad ambient light. Choose flush or semi-flush mounts and well-spaced recessed cans. A good rule is spacing recessed lights roughly equal to ceiling height in feet to avoid dark patches.
Pick wet-rated, corrosion-resistant fixtures for shower lighting. Recessed shower lights with diffusers give safe, even coverage. Confirm GFCI protection and damp/wet ratings to meet local codes.
Selecting color temperature and CRI for accurate skin tones and makeup
Match color temperature CRI to how you use the room. Aim for 3000K–3500K for natural light that helps with makeup. Choose 2700K–3000K if you want a warmer, spa-like feel.
High CRI matters. Select bulbs with CRI 90+ for true skin tones and precise color rendering. Brands such as Philips, GE, and Soraa offer reliable high-CRI LED options.
Keep temperatures consistent across fixtures. Mixed color temperatures create confusing light that can skew makeup and mirror tasks.
Layering light: combining ambient, task, and accent lighting
Use three lighting layers: bright task light at the vanity, general ambient overhead, and subtle accent lighting for depth. This approach balances practicality and mood.
Place task light to minimize shadows. Side-mounted lights or integrated mirror lighting work better than a single overhead fixture above the mirror.
Add accent touches like LED strips under vanities, cove lighting, or niche lights in the shower to highlight texture and create a polished look.
Energy-efficient options: LED bulbs, dimmers, and smart controls
Switch to LED bathroom lighting for long life and low heat. Choose ENERGY STAR-rated LEDs with the right lumen output to replace old incandescents and CFLs.
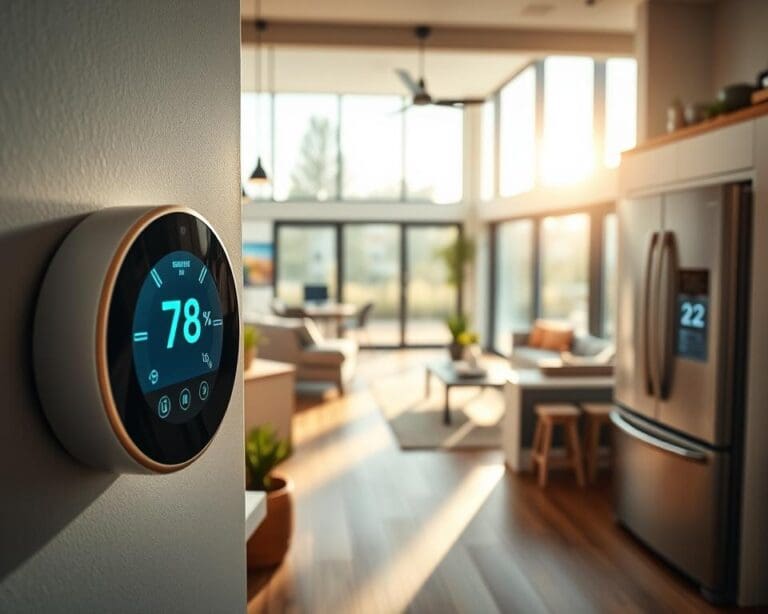
Install dimmers smart lighting controls to set scenes for morning routines and relaxed evenings. Use LED-compatible dimmer switches and confirm bulbs are dimmable.
Consider smart bulbs or Wi‑Fi and Zigbee switches that work with Amazon Alexa or Google Assistant. Motion and occupancy sensors save energy in guest or hallway bathrooms while improving safety.
Design Tips to Enhance Ambiance and Style in the Bathroom
Thoughtful bathroom lighting design lifts a room from functional to restorative. Start with a small plan that places task, ambient, and accent sources where they matter most. This helps you shape mood, highlight textures, and support daily routines.
Using accent lighting to highlight architectural features and textures
Use directional mini-spotlights or adjustable recessed trims to draw the eye to tile patterns, niches, and textured walls. Narrow-beam LED trims give crisp highlights without overpowering the space.
Concealed LED strip lighting under floating vanities or inside recessed shelves creates a soft halo that emphasizes depth. Warm accent temperatures, around 2700K–3000K, make wood and stone feel more inviting.
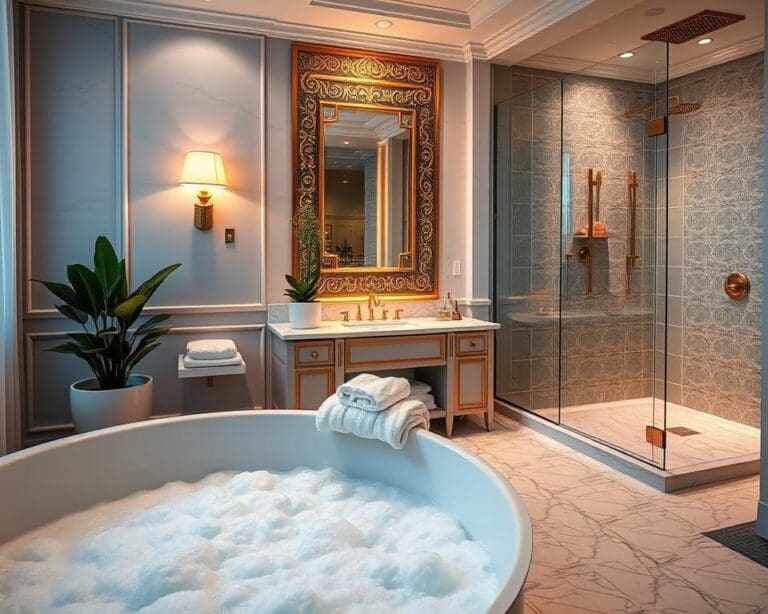
Fixture finishes and styles that complement your bathroom decor
Choose fixture finishes to match plumbing hardware and cabinet pulls for a unified look. Popular choices include brushed nickel, polished chrome, matte black, brass, and oil-rubbed bronze.
Pay attention to scale. Large statement pendants suit a roomy master bath. Slim linear fixtures and narrow sconces work better in compact powder rooms. Pick a style that supports the room’s mood—sleek chrome for modern or warm brass for traditional charm.
Integrating mirrors and reflective surfaces to amplify light
Large mirrors and mirrored walls reflect both daylight and artificial glow to make the space feel larger and brighter. Lighted mirrors with integrated LEDs deliver even, shadow-free mirror lighting for grooming tasks.
Backlit mirrors add a halo effect that reduces direct glare. Glossy tile, glass shower doors, and polished stone help bounce light, but balance those surfaces with diffused sources to avoid harsh reflections.
Creating mood with dimmable lighting and color-changing options
Install dimmable bathroom lights so you can shift from bright grooming light to soft soak-ready glow. Use multi-location or 3-way dimmers to control fixtures from different spots in the room.
Color-changing LEDs let you set scenes: cool white to wake up, warm tones for evening calm, or subtle color accents for a spa-like vibe. Choose reliable products from brands like Lutron, Philips Hue, or LIFX for smooth color control and lasting performance.
For ideas on arranging natural light with these strategies, read a practical guide on creating a relaxing retreat here: relaxing retreat lighting.
How can you improve bathroom lighting?
Start with a clear bathroom lighting checklist. Step 1: evaluate current conditions by mapping fixtures, taking photos, and measuring brightness at the vanity, shower, and general zones. Step 2: define goals—decide whether grooming accuracy, relaxation, energy savings, or style is your priority. This assessment sets the foundation for practical bathroom light improvements.
Step 3: select fixtures and bulbs that match those goals. Choose high-CRI LEDs near 3000K for balanced skin tones and color fidelity, wet-rated fixtures for showers, and quality vanity sconces or lighted mirrors. Step 4: layer the lighting—combine task lights at the mirror, ambient ceiling or recessed fixtures, and accent strips or spotlights to highlight tile or shelving.
Step 5: add controls and efficiency to complete the plan. Install dimmers, consider smart controls or motion sensors, and pick ENERGY STAR-rated LEDs to cut energy use. Step 6: the final touches include matching finishes, adding large or backlit mirrors, and adjusting levels after install. Follow a phased approach: low-cost swaps like high-CRI bulbs and LED strips, mid-range fixture upgrades, or a high-end remodel with rewiring and skylights.
Keep safety and codes in mind: use damp/wet-rated fixtures where required, ensure GFCI protection, and hire a licensed electrician for hardwired changes. With a clear set of improve bathroom lighting steps and this bathroom lighting checklist, you can turn routine upkeep into a lasting design upgrade that feels like a daily retreat.