Laminate flooring is a multi-layer synthetic product built for style and durability. It pairs a melamine wear layer over a photographic decorative layer and a high-density fiberboard (HDF) core, with some products including an integrated underlayment. This construction gives wood-look and stone-look options at a fraction of hardwood costs, making laminate flooring installation a popular choice for many U.S. homeowners.
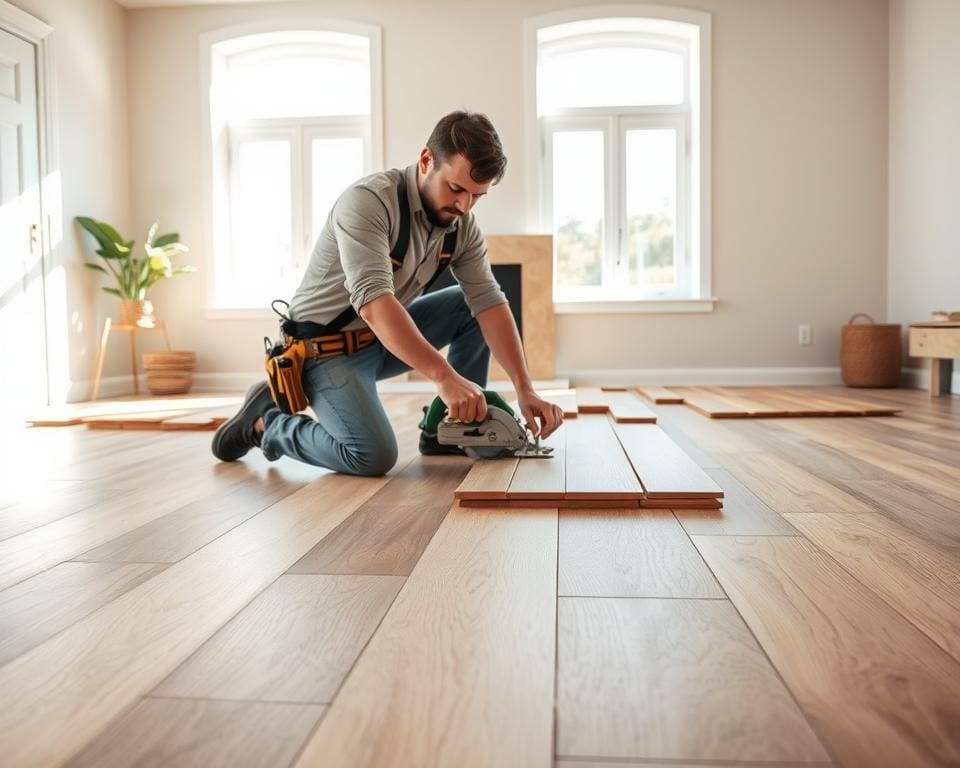
Most modern installs use a floating floor with click-lock edges, such as Unilin/Valinge systems, so you don’t glue or nail planks to the subfloor. That ease of install is why many people choose a DIY laminate floor project: you can often install laminate planks in a weekend with basic tools and clear instructions from this laminate flooring guide.
Materials range from budget to premium, roughly $0.70–$3.00+ per square foot, and a well-installed floor can last 10–25 years depending on AC ratings, care, and traffic. Aim for AC3 or higher for living areas and AC4–AC5 for heavier use. Many brands like Pergo, Mohawk, and Shaw offer water-resistant lines, but standard laminate still requires care in high-moisture zones unless labeled waterproof.
Beyond cost and specs, the real appeal is transformation. A thoughtful DIY laminate floor project delivers dramatic visual impact and real pride of workmanship. With solid planning, the right materials, and attention to detail, you can confidently install laminate planks and achieve professional-looking results in a weekend or two.
How do you install laminate flooring?
Installing laminate can transform a room with speed and style. This section gives a clear, inspirational guide you can follow from planning to the last trim. Read each part, gather the right materials, and take steady steps for a lasting result.
Overview of laminate flooring systems
Most residential projects use floating click-lock systems such as Pergo Click and Quick-Step Uniclic. These systems let planks snap together without glue. Glue-down options work for commercial settings or specific engineered products.
Plank widths range from about 6″ to 9″ and beyond. You will find short tiles, wide planks, and formats with micro-bevel or square edges. Edge style changes the floor’s visual depth.
Underlayment choices include foam, cork, and combined underlayment with vapor barriers. Some laminates come with attached underlayment. Cork or rubber options improve sound control and add minor thermal comfort.
Tools and materials you’ll need
Gather essential laminate tools and materials before you begin. A tape measure, carpenter’s square, chalk line, utility knife, hammer, tapping block, pull bar, spacers, and a saw (miter saw, circular saw, or jigsaw) are must-haves.
Include a pry bar, level, vacuum or broom, and safety gear: safety glasses, hearing protection, gloves, and a dust mask. Materials list: laminate planks, underlayment if not attached, transition strips, molding, baseboards, and a 6-mil polyethylene moisture barrier for concrete.
Trusted brands include Pergo, Shaw, Mohawk, Quick-Step for planks and Roberts or FloorMuffler for underlayments. DeWalt and Bosch saws give consistent cuts for clean joints.
Preparing the room and subfloor
Start by clearing furniture and removing baseboards or shoe molding. Label trim if you plan to reuse it. Check door clearances and plane jambs as needed for plank thickness.
Different subfloor types need different prep when preparing subfloor for laminate. Plywood and OSB require fastening and smoothing. Concrete must be dry; test moisture with a meter or calcium chloride kit and add a vapor barrier if required.
Repair cracks and level with patch or self-leveling compound when variance exceeds manufacturer limits, often 3/16″ over 10′. For wood, secure loose boards with screws, sand high spots, and fill gaps so the surface is flat and firm.
Step-by-step installation process
Begin with acclimation by bringing unopened cartons into the room for 48–72 hours. Plan plank direction, usually along the longest wall or toward the main light source.
Lay out a chalk line to keep the first row straight. Install underlayment per directions and tape seams if needed. In basements, ensure a continuous vapor barrier.
- First row: place spacers for a 1/4″–3/8″ expansion gap, click planks edge-to-edge, and cut the last plank to fit.
- Subsequent rows: stagger seams by 8″–12″ minimum, use a tapping block for tight joints, and a pull bar for final planks.
- Doorways and transitions: fit transition strips and reducer pieces. Trim planks to clear thresholds.
- Finishing: remove spacers, reinstall baseboards or quarter-round fastened to the wall, not the floor.
Clean the surface with manufacturer-approved cleaners and remove debris. Keep a few replacement planks for future repairs.
Common mistakes to avoid during installation
Recognize laminate installation mistakes so you can prevent them. Skipping acclimation leads to buckling or gaps when humidity changes. Installing over an uneven subfloor can damage locking joints and cause premature wear.
Do not neglect the expansion gap. Too little space causes buckling and cupping. Avoid rows made of many short pieces; follow the manufacturer’s minimum stagger, often 8–12″.
Measure and dry-fit before cutting. Never nail or glue a floating floor; tampering with the system can void warranties. Read and follow manufacturer instructions for tolerances and underlayment requirements to protect your investment.
Preparing and planning your laminate flooring project
Good planning saves time and money. Before you open cartons, take clear measurements and review your room layout. This will help you avoid wasted material and mismatched planks.
Measuring the room and calculating material needs
Measure the longest length and width of the room. For irregular spaces, divide the area into rectangles, measure each, then add the totals. Subtract built-in fixtures that will not be covered.
Multiply length by width to get square footage. Use a laminate material calculator or do the math manually and add 10% waste for straight runs. Choose 15% when planning diagonal layouts, herringbone, or rooms with many cuts.
Remember to plan for transitions and thresholds. Buy extra planks from the same dye lot and store unopened cartons for future repairs.
Choosing the right laminate type and style for your home
Match the AC rating to traffic levels: AC3 suits most homes, AC4–AC5 fits busy areas. Pick finishes that reflect your style, such as oak or maple looks, and decide between wide or narrow planks.
Consider water resistance for kitchens and basements. Brands like Pergo Outlast+ and Mohawk RevWood Plus offer water-resistant systems. Thicker boards and HDF cores add stability and comfort.
Check warranties, GREENGUARD or FloorScore certifications, and compare Pergo, Armstrong, Shaw, Mohawk, and Quick-Step to balance budget and performance. Test samples in your lighting before you choose laminate style.
Acclimating laminate planks to the room environment
Acclimating laminate planks reduces the risk of gaps or buckling after installation. Keep unopened cartons flat in the room for 48–72 hours under normal living conditions.
Maintain indoor temperatures near 60–80°F and relative humidity around 35%–65%. In new construction or extreme climates, extend acclimation time and follow the manufacturer’s instructions.
Inspecting and repairing the subfloor for a smooth installation
Perform a thorough subfloor inspection laminate check before you install underlayment. Most manufacturers require flatness within 3/16″ over 10′ or 1/8″ over 6′. Verify your product manual for exact tolerances.
Test moisture on concrete with a meter or calcium chloride kit. For plywood or OSB, use a wood moisture meter. Address readings above product limits before you proceed.
Fill low spots with self-leveling compound, sand high spots, and secure loose boards with screws. Replace any damaged plywood that threatens stability. Remove old adhesives, nails, and debris, then vacuum thoroughly.
Finishing touches, maintenance, and troubleshooting
Finish strong by installing baseboards or quarter-round to hide the expansion gap. Fasten trim to the wall, not the floor, so the planks can move. Add T-molding, reducers, or thresholds at doorways and level changes, following the manufacturer’s guidance on transition height and gap. Trim doorjambs where needed before the last row of planks. Keep a touch-up kit from Pergo or Shaw for small chips and save a few unopened boards for future repairs.
Routine laminate maintenance keeps floors looking new. Sweep or vacuum with a soft-floor setting and use a damp microfiber mop with a laminate-safe cleaner such as Bona Hardwood Floor Cleaner when needed. Wipe spills quickly to prevent water damage and avoid steam mops unless the brand approves them. Use felt pads under furniture, place rugs in high-traffic areas, and protect rolling chairs with mats to prolong the wear layer.
When problems arise, follow a clear laminate troubleshooting path. Gaps often result from poor acclimation or low humidity; let humidity stabilize and follow the maker’s re-locking steps or replace affected rows. Buckling or crowning usually means inadequate expansion space or moisture—remove trim, relieve pressure, and correct the moisture source before refitting. For squeaks, inspect and repair the subfloor and reinstall planks correctly. Deep scratches may need plank replacement, while surface scuffs can be eased with a manufacturer repair kit.
Guard your investment with seasonal humidity control and record keeping. Use humidifiers or dehumidifiers to reduce expansion and contraction cycles, and keep installation receipts and product batch numbers to protect warranty coverage. For major water damage, wide-area buckling, or complex transition repairs, call a certified flooring installer or a manufacturer-authorized service to properly repair laminate planks and restore performance.