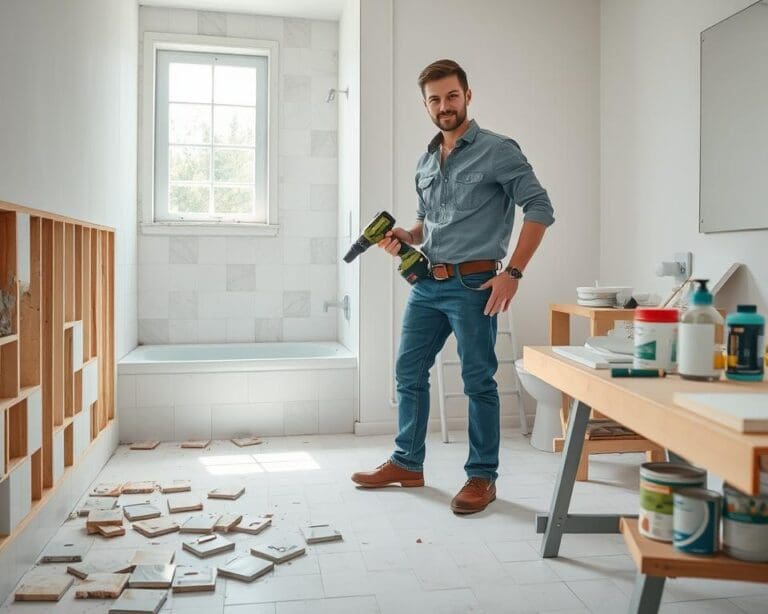
Renovating a bathroom can turn a tired space into a calm, efficient room that adds real value to your home. This bathroom renovation guide walks homeowners in the United States through a practical, step-by-step approach to planning, budgeting, and execution for a mid-range remodel.
Start by assessing your existing layout, listing problems, and setting clear goals. Use a simple renovate bathroom checklist to capture measurements, wish-list features, and accessibility needs before you pick tile, fixtures, or paint.
Expect stages that include design and permits, demolition, plumbing and electrical rough-in, waterproofing, and final finishes. Follow U.S. building codes and NKBA layout standards, and consider Energy Star and WaterSense products to boost efficiency and resale appeal.
Whether you hire a licensed contractor or tackle some tasks yourself, this bathroom remodel steps outline will help you move from inspiration to action. For further practical tips and a visual planning primer, see this planning resource on renovation stages at how to start renovating your bathroom step by.
Planning your bathroom renovation: budget, design, and permits
Begin by framing the project with clear goals and a practical plan. A thoughtful approach to bathroom renovation budget, bathroom design planning, and bathroom permits makes the process less stressful and more predictable. Sketch priorities, set timelines, and keep a contingency line for surprises.
Set a realistic budget and prioritize projects
Break costs into categories: design and planning, demolition and disposal, structural and rough-in, fixtures and finishes, labor, and contingency. Typical U.S. mid-range full bathroom remodels run about $10,000–$25,000. High-end projects can exceed $40,000. Moving plumbing or expanding the layout raises costs quickly.
Prioritize items that affect function and resale value first. Protect plumbing and electrical systems, install proper waterproofing, ensure strong ventilation, and choose durable flooring and water-efficient fixtures. Luxuries like heated floors or premium tile can be phased in later if the bathroom renovation budget is tight.
Define your design style and must-have features
Pick a design direction: modern, transitional, farmhouse, or spa-like. Use mood boards on Pinterest or Houzz to gather ideas and refine color, tile, and fixture choices. Make a concise list of must-haves such as a walk-in shower, double vanity, or accessible features.
Think about universal design if aging in place matters. Durable finishes and organized storage add long-term value. Keep chosen features aligned with the overall bathroom design planning to avoid costly changes once work begins.
Measure the space and create a simple layout plan
Measure length, width, ceiling height, door swing, window placement, and the location of existing plumbing and electrical. Record those numbers carefully. Use NKBA bathroom dimensions for clearance guidance: at least 21 inches in front of fixtures, 30 inches between fixtures, and about 36 inches for main walkways when possible.
Sketch two layout options: one that keeps existing plumbing to save money and one that relocates fixtures for improved flow. Document venting and drainage positions so plumbers can review feasibility during bids. Thoughtful bathroom layout planning reduces surprises and keeps contractor estimates realistic.
Understand permits, building codes, and when to hire a pro
Check local requirements for bathroom permits before any demo starts. Plumbing, electrical, and structural changes usually need permits and inspections. Fees and timelines vary by city and county. Missing permits can cause costly rework or delays.
Hire licensed electricians for wiring and licensed plumbers for plumbing moves. Structural changes require an engineer or a qualified contractor. For complex projects that touch multiple trades, consider a general contractor to manage scheduling, permits, and inspections. Obtain at least three bids, verify licenses, and get a clear contract with scope, timeline, and payment terms.
How do you renovate a bathroom step by step?
Start with a clear, written brief that defines the room’s main function, must-haves, and the aesthetic direction. A short plan keeps decisions focused and helps trades follow the bathroom renovation steps with less rework.
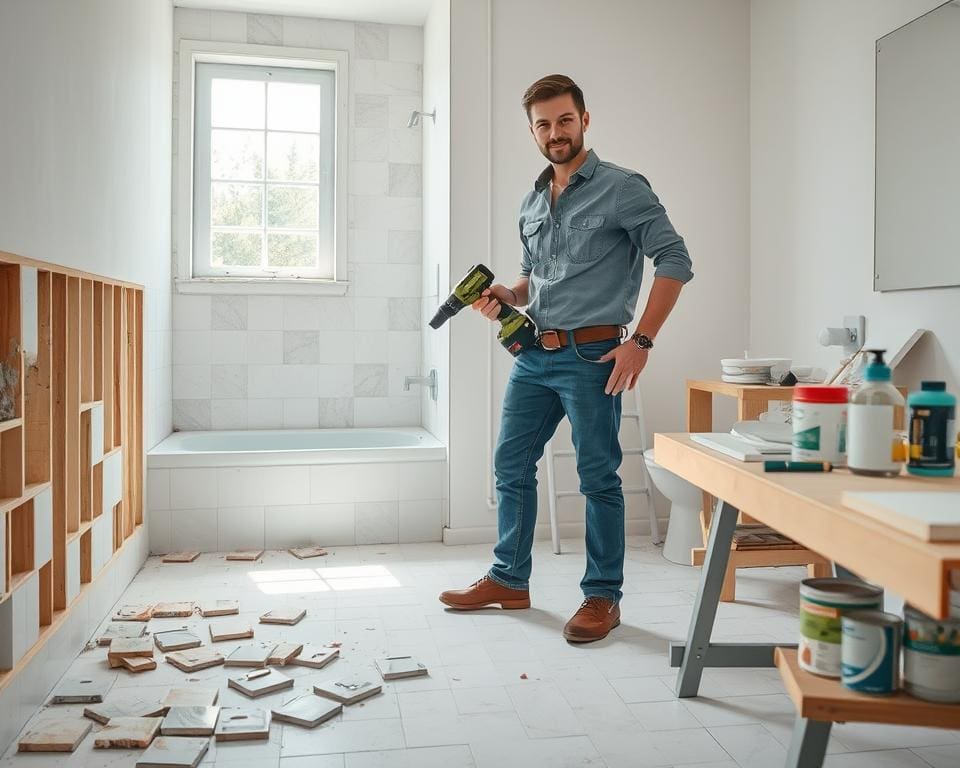
Prepare the space: demo, protection, and waste removal
Begin by isolating the work area. Turn off water and power, cap lines, and post safety notices where needed. A demolition plan limits surprises during bathroom demolition.
Protect adjacent rooms with dust barriers and floor coverings. Use HEPA vacuums for dust control when cutting into walls or removing tile. Remove fixtures in sequence: vanity, toilet, tub, then tile and finishes.
Arrange debris removal early. Book a roll-off dumpster or contractor haul-away and follow local disposal rules for hazardous materials.
Plumbing and electrical rough-in: what to replace or relocate
Plan the plumbing rough-in bathroom work before closing walls. Replace corroded galvanized pipes with copper or PEX and add shut-off valves at fixtures.
Relocate drains and vents only when necessary. Moving a toilet may require new drain fall and slab work. Update electrical circuits to current code, including GFCI outlets near water and a dedicated circuit for high-draw items.
Future-proof by routing conduit for smart fixtures and adding circuits for heated floors or towel warmers. Confirm ventilation duct runs and fan locations at this stage.
Install or repair subfloor and waterproofing systems
Inspect the subfloor for rot and replace damaged sections with moisture-resistant plywood or cement board. Use appropriate underlayment for your chosen finish.
Waterproof wet zones with a tested system. Liquid membranes like RedGard, sheet systems such as Schluter Kerdi, or preformed pans all work when installed per manufacturer guidelines for a reliable waterproofing shower solution.
Seal seams, penetrations, and curb transitions. Verify slopes to drains in showers and meet local code for curb heights and falls.
Wall, ceiling, and insulation work before finishes
Repair or replace wallboards with mold-resistant drywall or cement board in wet-adjacent areas. Use moisture-rated ceiling finishes where steam is a concern.
Insulate exterior walls with fiberglass or spray foam. Add blocking for grab bars, towel rails, and heavy cabinets while walls are open. Complete ducting to the exterior to prevent condensation.
Final installations: fixtures, cabinetry, and hardware
After waterproofing and inspection, set baths, showers, and tile. Secure vanities to studs, connect supply and drain lines, and check all plumbing for leaks during the second fix.
Install the toilet with the correct flange height and seal. Fit light fixtures, GFCI outlets, switches, and exhaust fans to code. Attach mirrors, shelves, and hardware with anchors suited for tile or drywall.
Finishing touches: paint, trim, grout, and cleanup
Use mildew-resistant paint and allow proper cure times before heavy use. Grout with the correct type and seal porous grout where needed.
Caulk transitions with silicone or polyurethane rated for bathrooms. Run water and test drainage, ventilation, and electrical functions. Complete a snag list and provide the homeowner with warranties and maintenance notes.
For a practical checklist and phasing guide, review a step-by-step resource at how to remodel a bathroom efficiently.
Choosing materials and fixtures that balance style and durability
Picking the right materials turns a bathroom into a lasting, beautiful space. Think about how each choice will perform over time and how it will help create a cohesive look. Aim for durable bathroom fixtures and finishes that match your budget and daily routine.
Tile options for floors and walls: durability and maintenance
Porcelain tile is a top pick for high-traffic floors and wet walls. It resists water and holds up to heavy use with minimal upkeep.
Ceramic tile works well on walls and lower-moisture areas. Glazed surfaces are simple to clean and cost-effective for quick updates.
Natural stone like marble and travertine gives a premium look. Expect more maintenance and routine sealing to protect against stains and moisture.
Large-format tiles reduce grout lines for a seamless feel. Use mosaic or smaller tiles on shower floors to achieve proper slope and slip resistance.
Choose grout color and consider anti-microbial or sealed grout products to make cleaning easier and reduce long-term maintenance.
Countertops, vanities, and storage solutions
Quartz and solid-surface counters from brands such as Caesarstone or Silestone are non-porous and low maintenance. They resist stains and simplify daily care.
Natural stone countertops offer beauty but need periodic sealing. Match material performance to how the bathroom will be used.
Select vanities with moisture-resistant finishes and soft-close drawers for quiet, durable operation. Floating vanities modernize the space and make floor cleaning easier.
Maximize storage with recessed niches, built-in medicine cabinets, and linen towers. Use humid-safe materials like marine-grade plywood or PVC for shelves to prevent warping.
Shower, tub, and toilet selection with water efficiency in mind
Frameless glass showers look clean and simplify wiping down glass and tile. Multi-head systems add luxury but demand higher water pressure and careful planning.
Acrylic preformed pans speed installation. Custom-tiled pans deliver a bespoke look when paired with correct slope and reliable waterproofing.
For tubs, alcove units save space. Freestanding tubs create a striking focal point and often need separate filler plumbing.
Choose WaterSense-certified models to cut water use. Water-efficient toilets rated at 1.28 gpf or lower help save water without losing performance.
Improve hot-water delivery with tankless water heaters or on-demand recirculation systems to reduce wait time and waste.
Lighting and ventilation choices for comfort and safety
Layer lighting to support different tasks: ambient ceiling fixtures, task lights at the vanity, and accent lights for niches. LEDs provide long life and energy savings.
Place vanity lighting to cut shadows. Vertical sconces flanking the mirror or a well-placed fixture above the mirror give even, flattering light. Aim for 2700–3000K for a warm, natural look.
Match exhaust fan capacity to room size, typically around 1 CFM per square foot, and vent to the exterior to prevent moisture buildup in the attic.
Use fixtures rated for wet or damp locations near showers and tubs. Protect outlets and switches with GFCI devices for safety around water.
Project management tips: timeline, hiring contractors, and avoiding common mistakes
Start with a clear bathroom remodel timeline. For a full gut remodel plan on 4–8 weeks; cosmetic updates often finish in 1–2 weeks. Sequence work: permits and planning, demolition, rough‑in plumbing and electrical, inspections, drywall and waterproofing, tile and flooring, fixtures and cabinetry, then trim, paint, final inspection, and punch list. Order vanities, custom tile, and glass early to avoid long lead times that stall progress.
When hiring bathroom contractor professionals, get at least three written estimates that detail scope, materials, timeline, payment schedule, and change‑order procedures. Do contractor vetting: verify licenses, confirm general liability and workers’ comp insurance, and check local references and state licensing boards. Use a written contract with start and completion dates, warranty terms, and retainage policy to protect both parties.
Control costs with a 10–20% contingency for surprises like rot or hidden plumbing. Track all approved change orders in writing to prevent scope creep. Consider buying fixtures or tile yourself if you can access trade discounts, but coordinate delivery with the crew. For complex layouts or high‑end finishes, a Certified Kitchen and Bath Designer or an experienced interior designer can improve function and resale value.
Avoid common bathroom renovation mistakes by keeping plumbing locations when possible, investing in waterproofing membranes, planning proper ventilation, and laying out layered lighting early. Measure product dimensions carefully to prevent fit issues. Finish with a bathroom remodel checklist: complete a punch list, verify water, drain, electrical, and ventilation systems, obtain final inspection sign‑off, and hand over warranties, care instructions, and shutoff diagrams for future maintenance.